> ## Documentation Index
> Fetch the complete documentation index at: https://liaobots.mintlify.site/llms.txt
> Use this file to discover all available pages before exploring further.
# Integrate CodeX
 ## Preparation
CodeX billing method is synchronized with official. For price ratio, please refer to [Models & Pricing](/Aggregation/Model-Price). For API addresses and backup URLs, see [API Call Examples](/Getting-Started/en/API)
## Process
Open terminal and enter `node --version` and `npm --version` to verify Node.js installation
If you see a version number like `v22.16.0`, proceed to the next step. Otherwise, please download from the official website [https://nodejs.org/en/download/](https://nodejs.org/en/download/)
Open terminal and enter `npm i -g @openai/codex` to install CodeX globally
After successful installation, use the `codex` command in the target folder path (such as the folder where you will create/modify code)
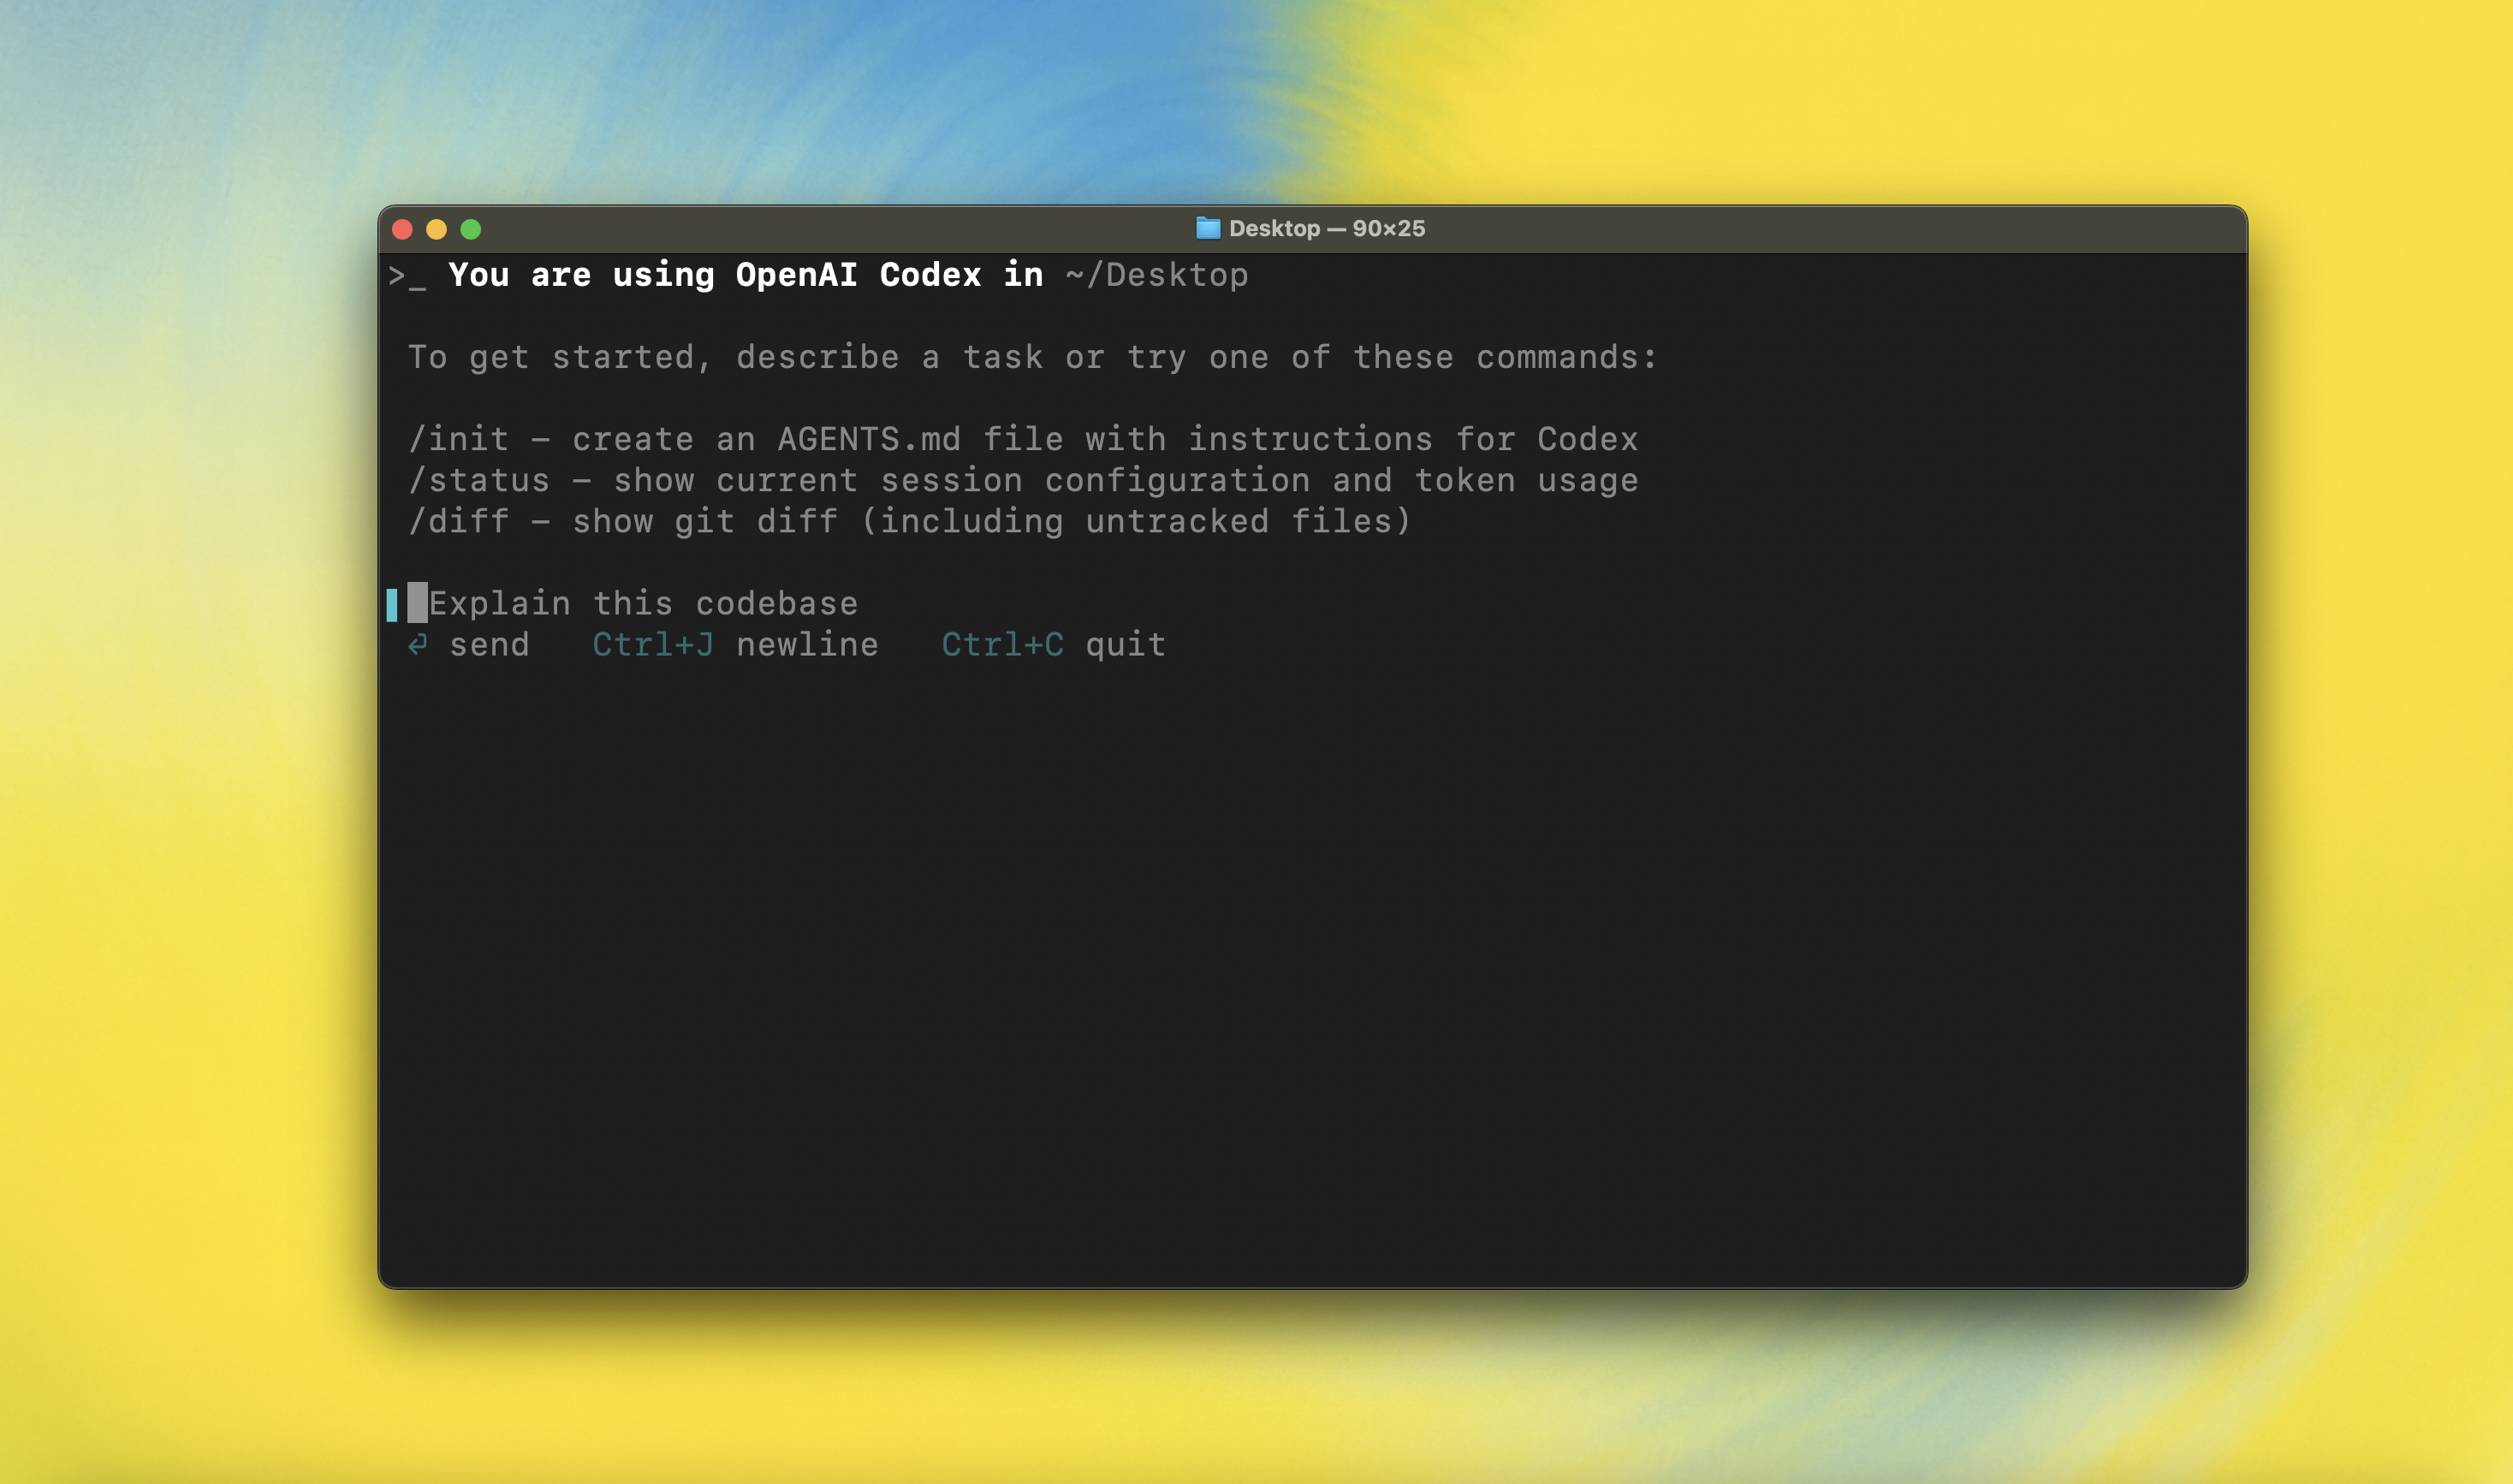
As shown in the image, installation is successful (this is just to check if installation is successful, no interaction is needed, just use `Ctrl+C` to exit after successful startup)
Navigate to `~/.codex` path, create or edit the `config.toml` file with the following configuration:
```toml config.toml theme={null}
model = "gpt-5.4"
model_reasoning_effort = "xhigh"
service_tier = "fast"
model_context_window = 900000
model_auto_compact_token_limit = 800000
tool_output_token_limit = 128000
model_provider = "liao"
[model_providers.liao]
name = "liao"
base_url = "https://ai.liaobots.work/codex/v1"
env_key = "LIAO_API_KEY"
wire_api = "responses"
request_max_retries = 4
stream_max_retries = 5
stream_idle_timeout_ms = 300000
```
Then create a `.env` file in the `~/.codex` path with the following content:
```.env theme={null}
LIAO_API_KEY=Your Authcode
```
`model_context_window` and `model_auto_compact_token_limit` are only supported with 1M context by `gpt-5.4`. If using other models (e.g. `o3-pro`), comment out these two lines or you may get errors.
Use the cd command to enter the project folder you want to edit, enter `codex`, and then you can start using CodeX
## Preparation
CodeX billing method is synchronized with official. For price ratio, please refer to [Models & Pricing](/Aggregation/Model-Price). For API addresses and backup URLs, see [API Call Examples](/Getting-Started/en/API)
## Process
Open terminal and enter `node --version` and `npm --version` to verify Node.js installation
If you see a version number like `v22.16.0`, proceed to the next step. Otherwise, please download from the official website [https://nodejs.org/en/download/](https://nodejs.org/en/download/)
Open terminal and enter `npm i -g @openai/codex` to install CodeX globally
After successful installation, use the `codex` command in the target folder path (such as the folder where you will create/modify code)
As shown in the image, installation is successful (this is just to check if installation is successful, no interaction is needed, just use `Ctrl+C` to exit after successful startup)
Navigate to `~/.codex` path, create or edit the `config.toml` file with the following configuration:
```toml config.toml theme={null}
model = "gpt-5.4"
model_reasoning_effort = "xhigh"
service_tier = "fast"
model_context_window = 900000
model_auto_compact_token_limit = 800000
tool_output_token_limit = 128000
model_provider = "liao"
[model_providers.liao]
name = "liao"
base_url = "https://ai.liaobots.work/codex/v1"
env_key = "LIAO_API_KEY"
wire_api = "responses"
request_max_retries = 4
stream_max_retries = 5
stream_idle_timeout_ms = 300000
```
Then create a `.env` file in the `~/.codex` path with the following content:
```.env theme={null}
LIAO_API_KEY=Your Authcode
```
`model_context_window` and `model_auto_compact_token_limit` are only supported with 1M context by `gpt-5.4`. If using other models (e.g. `o3-pro`), comment out these two lines or you may get errors.
Use the cd command to enter the project folder you want to edit, enter `codex`, and then you can start using CodeX